Compose an Email Message
Emailsaler is preferred by users due to its simplified features and functionality factors. Each and every function of Emailsaler provides ease to work and does not require any extra efforts of users. Here, in this section we will discuss about topic how to compose email in Emailsaler in simple steps.
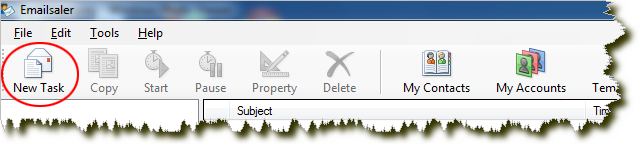
1. Click on "New Task" button on the toolbar.
2. A New Task dialog box appears. Select the recipient's email address in the To field, and modify any other settings (as necessary).
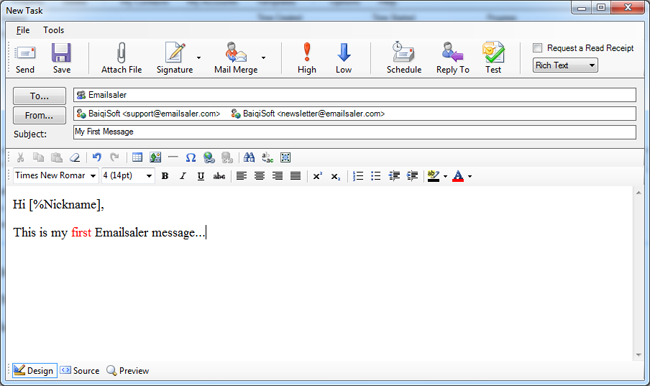
The Emailsaler message editor is similar to standard email client editors like Outlook or Outlook Express. It provides settings for changing the appearance of your messages like users can add background color to message, change the font of text, add graphics, table, signature, hyperlinks, attachments and other HTML elements as desired.
 Add recipients: Click on 'To' button provided for adding contacts, this will display a list of all contacts saved within Emailsaler.
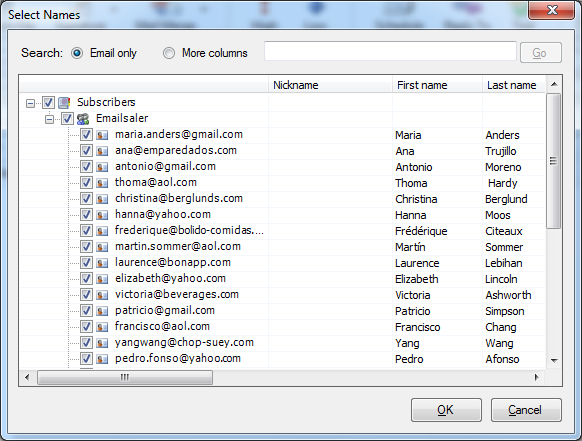
Select the contact(s) and/or list(s) that you want to send the message to and then click OK to proceed further.
Add Senders: Click on 'From' button provided for adding senders, this will display a list of all your email accounts saved within Emailsaler.
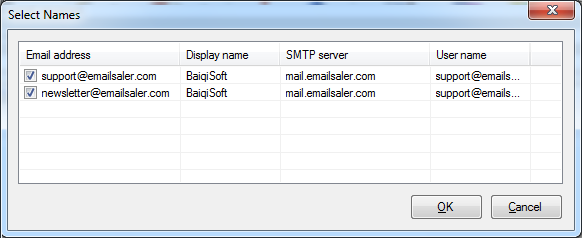
Select the email accounts that will be used to send the email and then click OK.
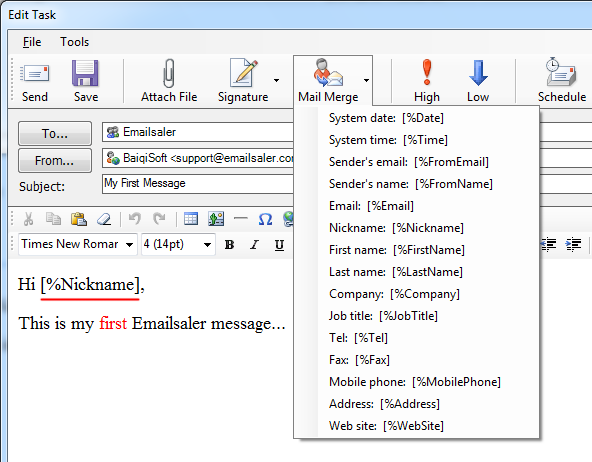
In the Subject box, type the subject of the message.
Compose the message body. You can use the toolbar commands to format your email message.

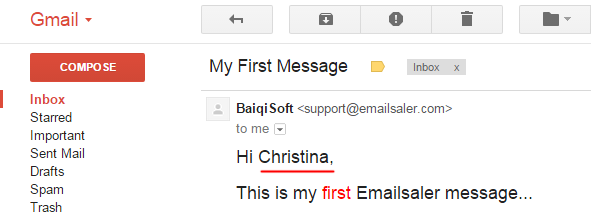
Email Personalization: In the email subject and body, you can click on Mail Merge button to insert the macro text.
Add Attachments: While composing email, you can attach a file with it by clicking on Attach File button. Browse to and select the file that you want to attach, and then click Open.
Delay sending the message: In Emailsaler, you can delay the delivery of all messages by having them held in the Tasks folder for a specified time after clicking Send.
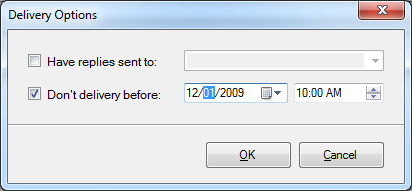
a. On the New Task dialog box, click Schedule button.
b. A Delivery Options dialog box appears, select the delivery date and time that you want, and then click OK.
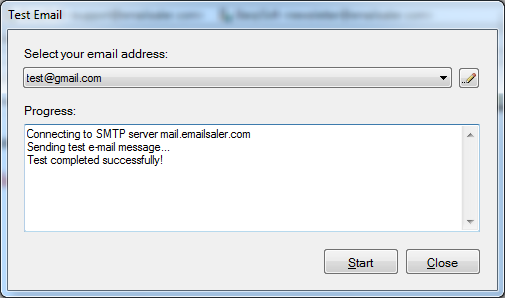
Test Emails: Click on Test button and then enter your own email address to send a test email to yourself and see how it looks in a real email client or different browser.
Save Draft: Click on Save button to save the message to your Drafts folder and continue modifying the message.
Send Email: When satisfied with your email's content, click Send.