Email Account Setup
After installing Emailsaler, the first thing you need to do is to create an email account. The email account is what will appear in the From field of each email you send out.
Here are the the steps to create a new email account:
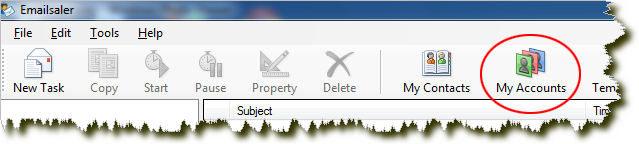
1. Open Emailsaler and click on "My Accounts" button on the toolbar.
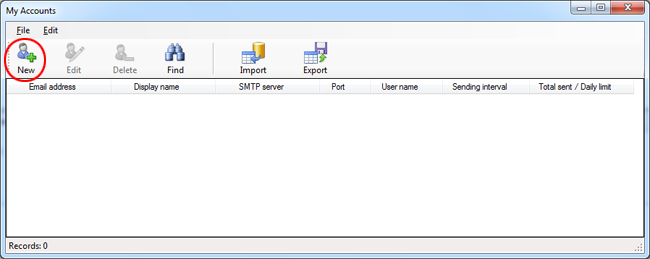
2. On the My Accounts dialog box, click "New" to create a new email account.
3. Enter your SMTP account information in the Account Settings dialog box. Contact your email administrator or provider or for help with any settings you’re unsure of.
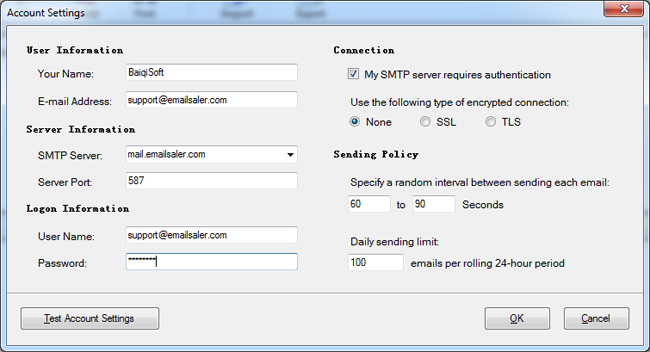
Under User Information, do the following:
a. In the Your Name box, type your name the way that you want it to appear to other people.
b. In the E-mail Address box, type the complete email address. For example, pat@contoso.com.
Under Server Information, do the following:
a. In the SMTP Server box, type the full name of the SMTP server. Often this is mail followed by your
domain name, for example, mail.contoso.com.
b. In the Server Port box, type the port number of the SMTP server. For example, 25, 465 or 587.
Under Logon Information, do the following:
a. In the User Name box, type your user name. This might be just the part of your e-mail address before
the @ symbol, or it might be your complete e-mail address.
b. In the Password box, type the password provided by your mail administrator, or one that you created.
Under Connection, do the following:
a. Select the My SMTP server requires authentication check box, if it is required by your account.
b. For the Use the following type of encrypted connection option, click None, SSL or TLS, if your ISP
instructs you to use one of these settings.
Under Sending Policy, do the following:
a. Specify a random interval between sending each email, let Emailsaler like a real person manually
sending each email, not a robot trying to spam others.
b. Under Daily sending limit, you can further limit how many emails can be sent per rolling 24-hour
period. Please make sure you do not exceed the send quota of your email account.
Click Test Account Settings. When you click Test Account Settings, the following process occurs:
a. The connectivity of the system to the Internet is confirmed.
b. You are logged on to the SMTP server.
c. A test message is sent. This message explains any changes that Emailsaler made to the initial setup.
This option verifies that your account is working. If there is missing or incorrect information, such as your password, you are prompted to supply it or correct it.
Click OK to save your account settings.